
1、配置yum源:
# vi /etc/yum.repos.d/gitlab-ce.repo
复制以下内容:
[gitlab-ce]
name=Gitlab CE Repository
baseurl=https://mirrors.tuna.tsinghua.edu.cn/gitlab-ce/yum/el$releasever/
gpgcheck=0
enabled=1
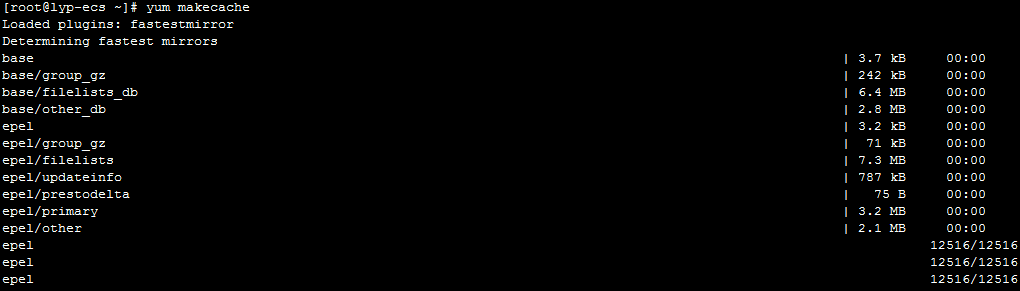
2、更新本地yum缓存:
# yum makecache
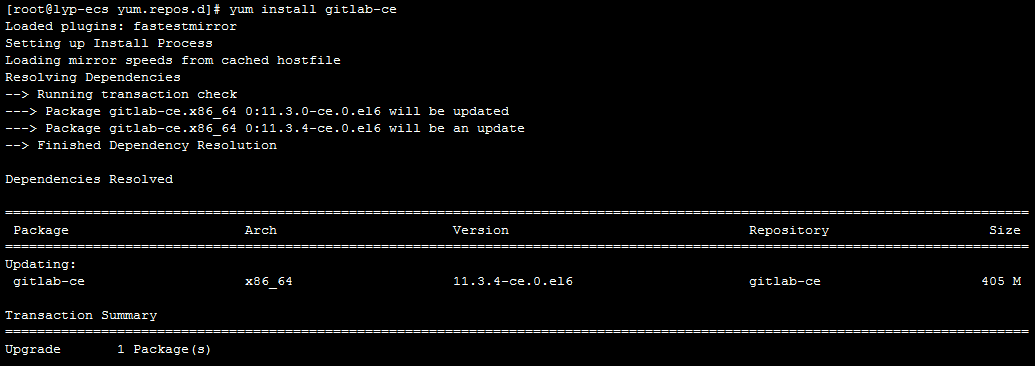
3、安装GitLab社区版:
# yum install gitlab-ce #自动安装最新版
卸载:
# yum remove gitlab-ce
# rm -rf /etc/gitlab/* /var/log/gitlab/* /var/opt/gitlab/* /opt/gitlab/*
GitLab常用命令:
gitlab-ctl start #启动所有 gitlab 组件 (初次启动:gitlab-ctl reconfigure)
gitlab-ctl stop #停止所有 gitlab 组件
gitlab-ctl restart #重启所有 gitlab 组件
gitlab-ctl status #查看服务状态
gitlab-ctl reconfigure #检查配置
vi /etc/gitlab/gitlab.rb #修改默认的配置文件
gitlab-ctl tail #查看日志
gitlab-rake gitlab:check SANITIZE=true –trace #检查gitlab
Gitlab备份与恢复:
备份:# gitlab-rake gitlab:backup:create
默认备份地址为:/var/opt/gitlab/backups/
恢复:
1、停止Gitlab:
# gitlab-ctl stop
2、进入备份目录:
# cd /var/opt/gitlab/backups/
3、执行恢复命令:
# gitlab-rake gitlab:backup:restore BACKUP=1540793908_2018_10_29_11.3.4
后面为之前备份生成的编号
4、启动Gitlab:
# gitlab-ctl start
5、登录gitlab,验证数据完整性。
定时备份:0 4 * * * root /opt/gitlab/bin/gitlab-rake gitlab:backup:create CRON=1
(CRON=1:备份不发生错误的情况下不发送系统邮件)
日志地址:
/var/log/gitlab/ #对应各服务日志
服务地址:
/var/opt/gitlab/ #对应各服务主目录
查看gitlab版本:
# cat /opt/gitlab/embedded/service/gitlab-rails/VERSION
查看postgresql数据库版本:
# /opt/gitlab/embedded/bin/psql --version
gitlab-ce历史版本安装包下载:
https://packages.gitlab.com/gitlab/gitlab-ce